I remember very clearly about five years ago when we both absolutely agreed that eating out on Valentine's Day would never happen again. And it hasn't.
And we were even at one of our still favorite little romantic restaurants but on Valentine's night it was missing its usual romantic feel. Line out the door, even with a reservation the wait was at least 30 minutes or more. There were only a few main dish choices. The wait staff was not the usual and the additional staff wasn't well versed on their great selection of wines. Finally, the wait in-between courses made us annoyed not feeling lovey dovey. Yeah, like we said we haven't done that since.
Now we make a lovely dinner at home each year instead. I thought leading up to Valentine's day I would post and build a complete Valentine's menu to share with you and maybe it would inspire you and your love to eat at home instead of eating out on the second most busy restaurant event of the year, only second to Mother's Day.
Here's what's on the Valentine's Day menu:
Dirty Shirley Cocktails
Iceberg Wedge with Warm Bacon and Blue Cheese Dressing
Braised Beef Short Ribs
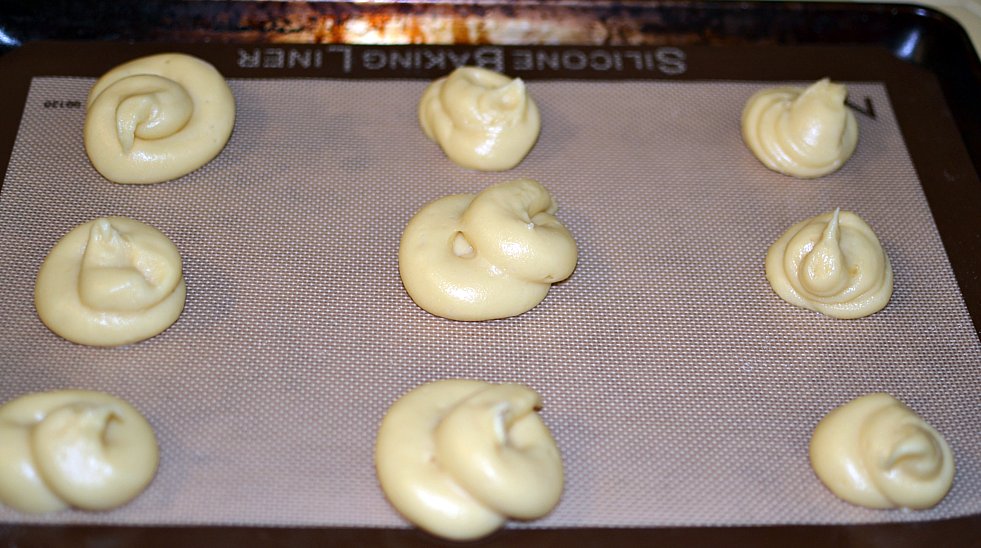
Cream Puffs with Vanilla Ice Cream and Chocolate Sauce
To kick off the menu I'll start with the main course, Braised Beef Short Ribs a recipe adapted from Epicurious. G loves braised short ribs it's one of his favorite lazy Sunday kind of meals. The recipe is absolutely perfect too with bacon and pearl onions. And because it braises 4-5 hours the ribs unreservedly melt in your mouth.
I first found some scrumptious looking short ribs.
This recipe actually does have quite a few ingredients but with some prep and planning and time, it's well worth making.
And with our faithful kitchen companion Sally Pork Chop in the kitchen for moral support all that time in the kitchen just flies by.
In our opinion the key to the world's best short ribs is making sure to give them a great sear on every side of the rib. The more brown goodness they have after searing the more delectable flavor they'll have after hours of braising.
And seasoning them well is another important step for excellent flavor. My sister gave us these great selections of flavored salts for Christmas from Napa Style. For this recipe I kept it simple using the soft flavor of Sicilian White Salt.
Sautéing carrots, onions and garlic add the next layer of important flavor.
And pureed whole San Marzano tomatoes add the next layer of flavor. If you can find these authentic Italian tomatoes they are 100% worth the search. They really do have superior canned tomato flavor.
And next the addition of red wine and a good beef broth really pull all of the flavors together. Actually the recipe calls for demi-glace concentrate or veal stock. I couldn't find either of these this time, but to be honest I didn't look that hard either these ingredient are both incredibly rich and most of the time too rich for my tastes so we subbed a good quality beef broth instead.
Next the beautifully browned beef ribs go back into the dutch oven and braise in the oven at 250 degrees for 4-5 hours until they are gently falling off the bone.
While the ribs braise you can cook the vegetables and bacon which get added back to the ribs after you skim the fat off the top. You then put a rib in your bowl pour vegetables and sauce over the rib. And top with bacon and thyme sprigs.
Absolutely Delicious! Absolutely! And a special main course for any special occasion.
RECIPE:
Braised Beef Short Ribs ( adapted from Epicurious)
For short ribs
4 (8-ounce) pieces bone-in beef short ribs
1 tablespoon vegetable oil
3/4 teaspoon fine sea salt
1/2 teaspoon black pepper
4 medium carrots, finely chopped
1 medium onion, finely chopped
2 garlic cloves, finely chopped
1 (14-ounce) can whole San Marzano tomatoes in juice, puréed in a blender with juice
1 1/2 cups dry red wine
4 cups brown veal stock or 1/2 cup Demi-Glace Gold concentrate (concentrate requires a dilution ratio of 1:8; 1/2 cup concentrate to 4 cups water)
2 sprigs fresh thyme
1 Turkish or 1/2 California bay leaf
1 tablespoon red-wine vinegar
1 tablespoon balsamic vinegar
For vegetables
20 pearl onions (5 ounces)
1 1/2 tablespoons unsalted butter
1 tablespoon Banyuls vinegar or red-wine vinegar
2 cups chicken stock or reduced-sodium chicken broth (16 fluid ounces)
4 medium carrots, cut diagonally into 1 1/2-inch pieces
3 thick bacon slices (preferably applewood-smoked; 1/4 lb total), cut crosswise into 1/4-inch pieces
8 medium fresh white mushrooms, trimmed and quartered lengthwise
Braise short ribs:
Put oven rack in lower third of oven and preheat oven to 250°F.
Pat beef dry. Heat oil in a wide (12 inches in diameter) 3- to 5-quart heavy pot over moderately high heat until hot but not smoking, then brown beef on all sides, turning with tongs, about 8 minutes. Transfer to a plate and sprinkle with 1/4 teaspoon sea salt and 1/4 teaspoon pepper.
Add chopped carrots, onion, and garlic to oil in pot and cook over moderate heat, uncovered, stirring occasionally, until softened, about 5 minutes. Stir in 1 cup puréed tomatoes (reserve remainder for another use) and bring to a boil over moderately high heat. Add wine and boil, stirring occasionally, until sauce is thickened, about 8 minutes.
Add veal stock, thyme, bay leaf, vinegars, and remaining 1/2 teaspoon sea salt and 1/4 teaspoon pepper to sauce, and bring to a simmer. Skim fat from surface, then add beef along with any juices accumulated on plate and cover pot with a tight-fitting lid. Transfer to oven and braise until beef is very tender, 4 to 5 hours.
Cook vegetables while beef braises:
Blanch pearl onions in a wide 2- to 3-quart heavy saucepan of boiling water 1 minute, then drain in a sieve. When just cool enough to handle, peel onions with a paring knife, trimming root end just enough to leave onions intact.
Heat butter in dried saucepan over moderate heat until foam subsides, then cook onions, stirring occasionally, until brown spots appear, 3 to 5 minutes. Stir in vinegar, then add chicken stock and carrots and bring to a boil. Reduce heat and simmer, covered, until vegetables are tender, 20 to 25 minutes. Uncover and boil, if necessary, until liquid glazes vegetables.
While vegetables are simmering, cook bacon in a 10-inch heavy skillet over moderate heat, stirring occasionally, until lightly browned, 4 to 6 minutes. Add mushrooms and cook, stirring, until mushrooms are tender and bacon is browned and crisp, about 4 minutes. Transfer with a slotted spoon to vegetables in saucepan.
Assemble dish:
Transfer a short rib to each of 4 soup plates and keep warm in oven. Pour sauce through a medium-mesh sieve into a large bowl, pressing on and then discarding solids, then skim fat from sauce. Boil sauce, if necessary, until thickened and reduced to about 3 cups. Season with salt and pepper. Add about 2 cups sauce to vegetables (reserve remaining sauce for another use), then spoon mixture around short ribs.